Each note can have its own color, a background image and a font that differs from the rest of the app. It all lives in the Background sheet, inside the editor. The example in this guide is a note called “Weekend plans”.
1. Open the Background sheet
- Open the note.
- On the editor’s bottom bar, tap ⋮, More options.
- Tap Background.
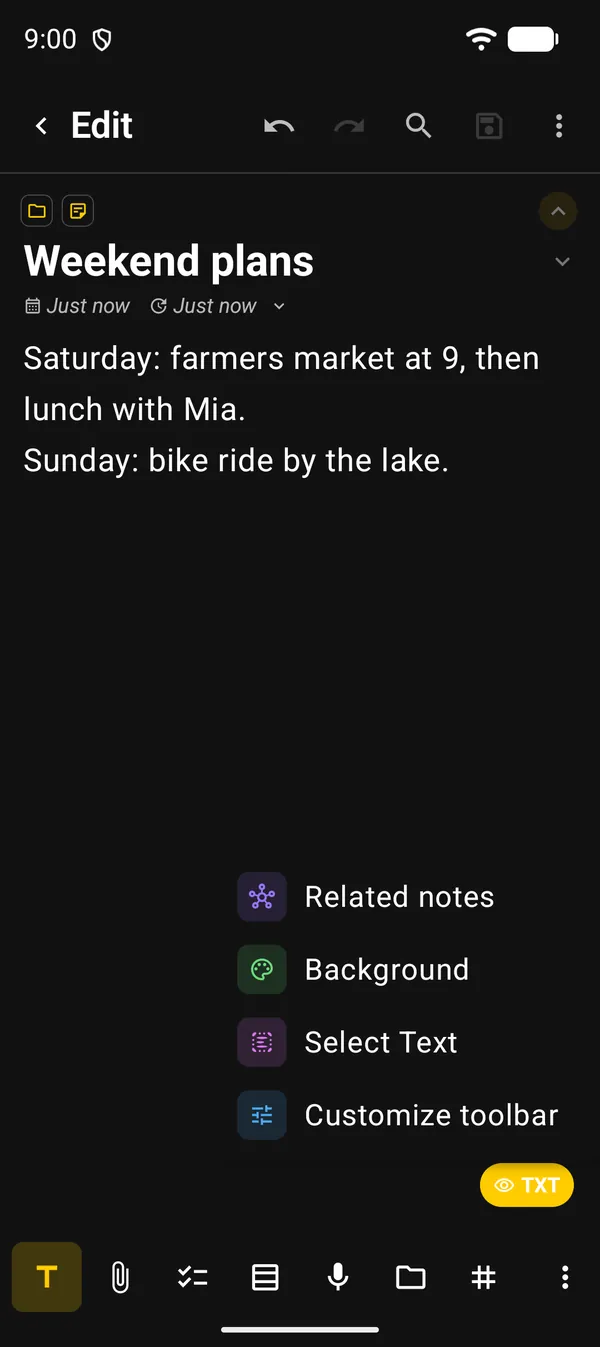
Use it a lot? Customize toolbar, in the same menu, can put the background button right on the bar.
2. Give the note a color
The sheet opens on the Color tab.
- Under Solid Colors, tap a color. The note changes at once; there is nothing to save.
- The last square, multicolored with a +, opens Custom color to pick any shade.
- To go back to normal, tap Default, which Follows app theme.
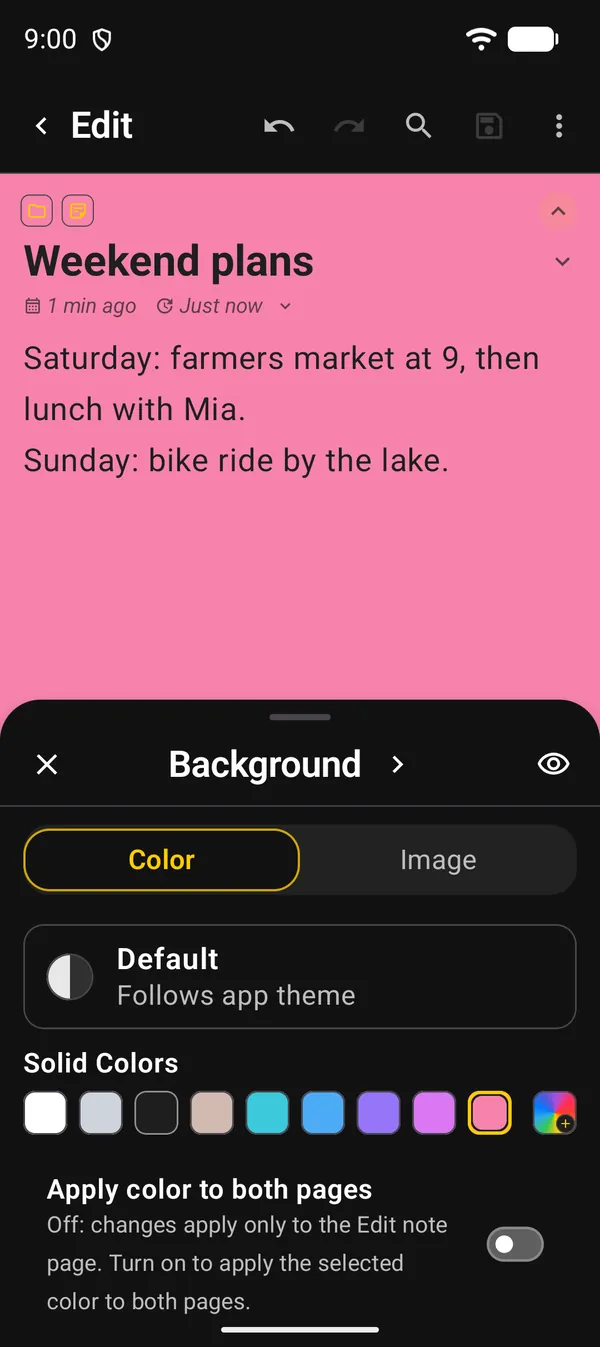
Below is Apply color to both pages. Off, the color applies only to the editing page. On, it also applies to the note’s card on the home screen.
Want to see the whole note without closing the sheet? Hold the eye icon in the top corner. The sheet turns see-through while you hold it.
3. Use a background image
- In the Background sheet, tap the Image tab.
- Pick a group with the buttons at the top: All, Paper, Floral, Gradients, Dark, Cute or Seasonal.
- Tap an image. The note shows how it looks.
- Tap Save, the floppy disk at the top of the sheet.
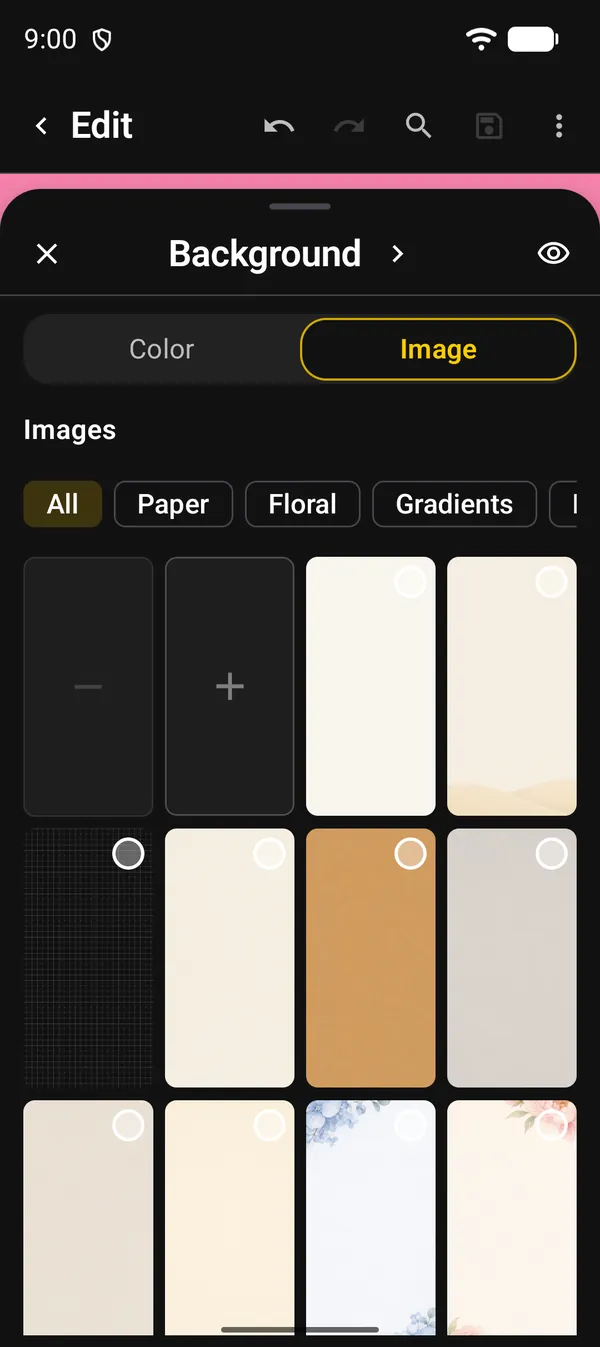
The two squares at the start of the grid:
| Square | What it does |
|---|---|
| − | Remove: takes off the saved background image. Only works when the note already has one |
| + | Opens the Android gallery so you can use your own photo |
Tapped an image and changed your mind? Tap it again to unselect it. When the note already has an image, there is also a square with it and an Adjust label, to change its settings without picking it again.
4. Adjust the image
After you tap an image, the controls icon next to Save opens the adjust page. With a gallery photo, it opens straight away.
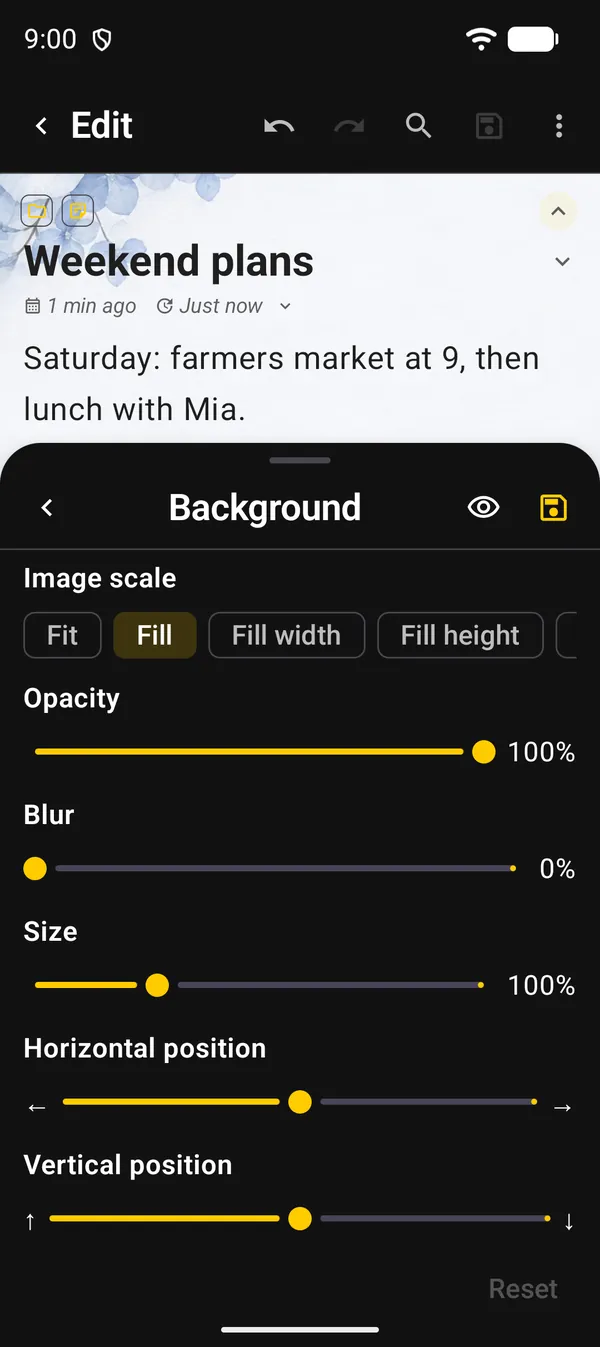
| Setting | What it’s for |
|---|---|
| Image scale | How the image fills the page: Fit, Fill, Fill width, Fill height, Stretch or Original |
| Opacity | Makes the image lighter. Below 100%, the note’s color shows through |
| Blur | Softens a busy image behind the text. Only works on Android 12 or newer |
| Size | Makes the image bigger or smaller, from 25% to 300% |
| Horizontal position / Vertical position | Moves the image sideways or up and down |
| Reset | Puts everything back: Fill, 100%, no blur, centered |
Tap Save at the top to keep it. The arrow on the left leaves the adjustments without saving.
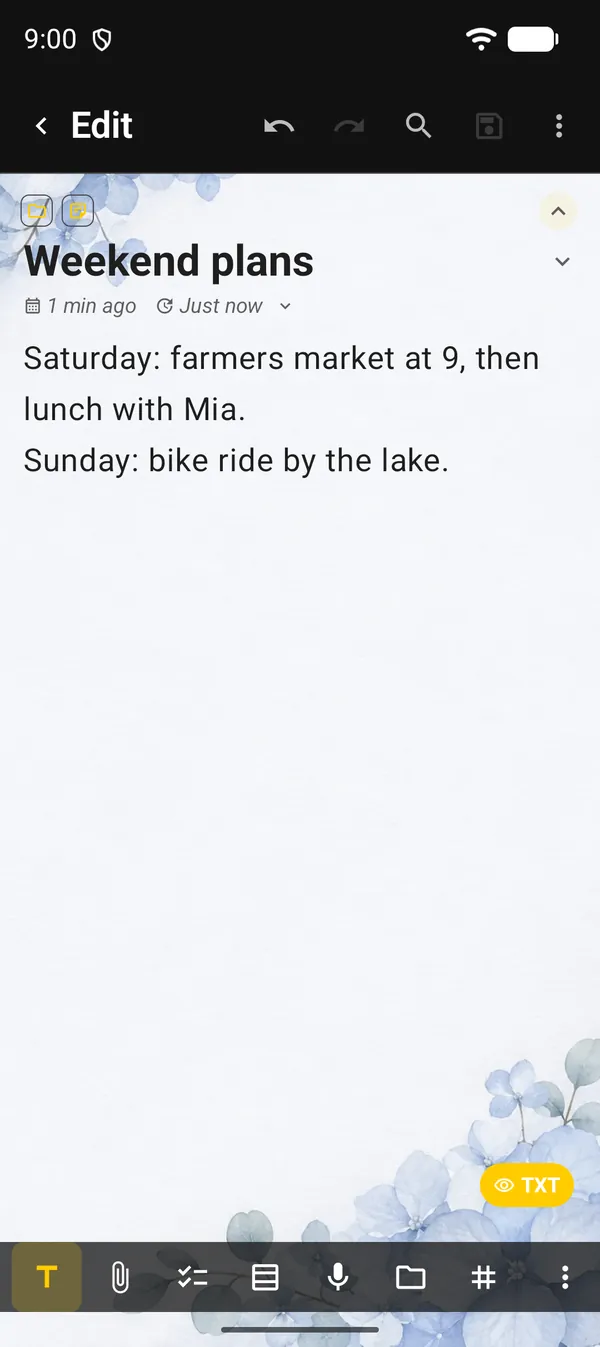
5. Change the font and text color
- At the top of the Background sheet, tap the › arrow next to the name. The Font page opens.
- In the row of colors, pick the text color.
- Tap a font. They come in groups: Sans serif, Serif, Monospace and Handwriting & display.
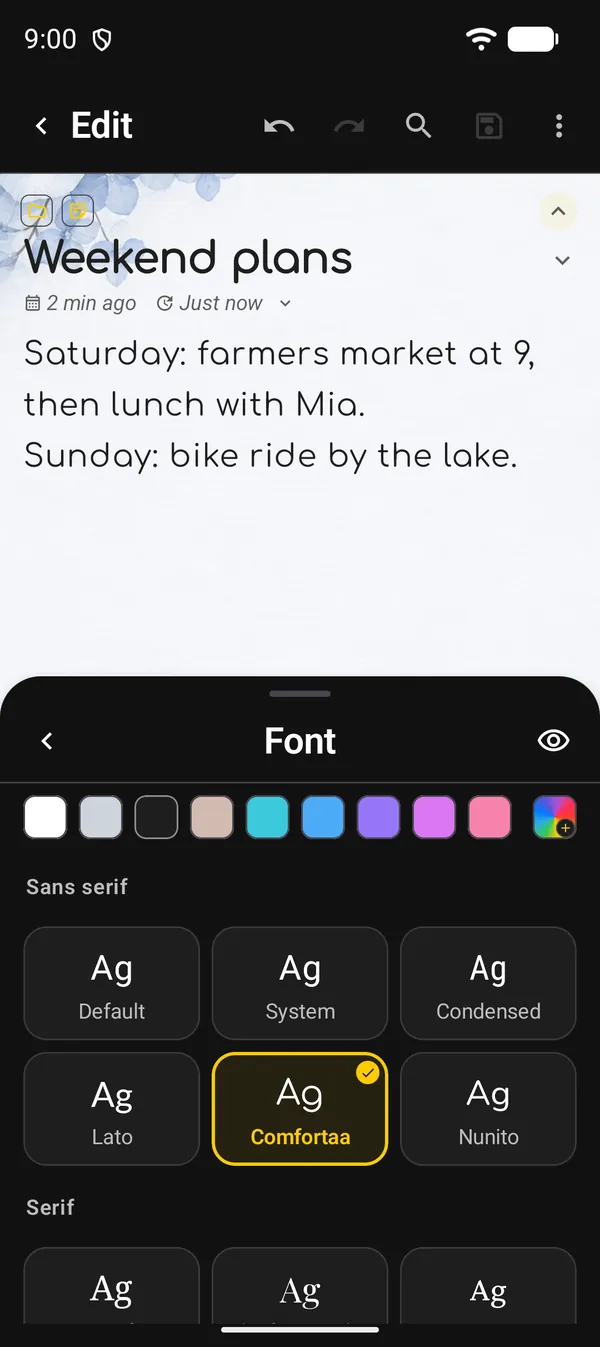
The font applies to this note only. Default goes back to the app font, set in Appearance. The ‹ arrow goes back to the background.
6. See it on the home screen
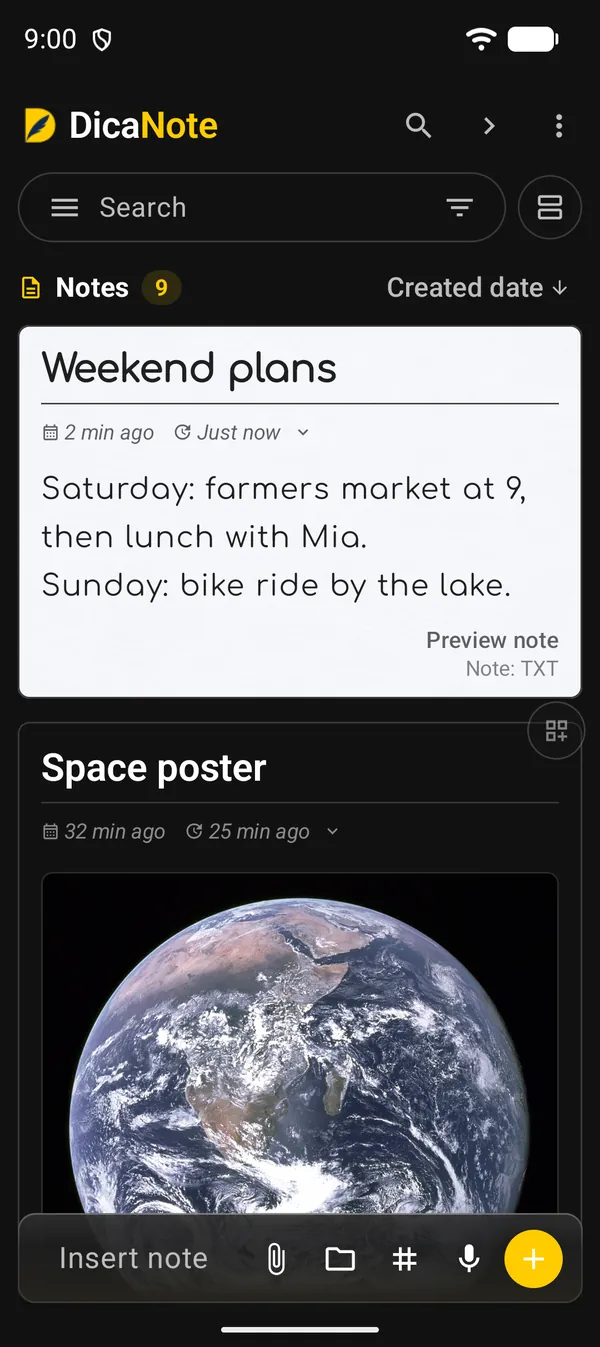
The note’s card on the home screen shows the background image and the chosen font. The solid color only shows on the card when Apply color to both pages is on.
Next guides
FAQ
How do I remove the color or the image from a note?
The color: on the Color tab, tap Default. The image: on the Image tab, tap the − square.
Does changing one note's font change the others?
No. The font picked in the sheet applies to that note only. To change the font of the whole app, use Appearance.
Blur doesn't change anything. Why?
Blur only works on Android 12 or newer. On older versions the image shows without blur.
Can I use my own photo as a background?
Yes. On the Image tab, tap +, pick the photo, adjust it and tap Save.